Levi Ink
Fastest Delivery Fri, Oct. 18th if ordered in 06h 32m | FREE Shipping on Transfers $75+
Generic selectors
Exact matches only
Search in title
Search in content
Post Type Selectors
Leviink Rewards
Sign up and earn
Live Chat 24/7
Chat with a Leviink
Hello, sign in
Login / Reorder
$
0.00
Cart
Menu
DTF Transfers
Printhouse
Blank Apparel
Custom Patches
DTF Supplies
Rhinestone
Design Library
Support
DTF Transfers
Printhouse
Blank Apparel
Blank T-Shirts
Short Sleeve
Long Sleeve
3/4 Sleeve
Raglan T-Shirts
Pocket T-Shirts
Hoodies
Short Sleeve
Long Sleeve
3/4 Sleeve
Raglan T-Shirts
Pocket T-Shirts
Hats
Short Sleeve
Long Sleeve
3/4 Sleeve
Raglan T-Shirts
Pocket T-Shirts
Categories
Short Sleeve
Long Sleeve
3/4 Sleeve
Raglan T-Shirts
Pocket T-Shirts
Brands
Short Sleeve
Long Sleeve
3/4 Sleeve
Raglan T-Shirts
Pocket T-Shirts
Custom Patches
Menu
Embroidered Patches
Full Color Printed Patches
Print + Embroidery Patches
PVC Rubber Patches
Leather Patches
Leather Patches
Faux Leather Patches
Woven Patches
3D Embroidery Patches
Chenille Patches
Rhinestone Transfer
DTF Supplies
Rhinestone
Design Library
Support
X
Contact Us
Heat Press Instructions for Easy Peel DTF Transfers
Achieve Professional Results with Your Heat Press
Follow our step-by-step pressing instructions for flawless DTF (Direct to Film) transfer application. Whether you’re creating custom apparel, accessories, or merchandise, our method ensures vibrant, durable results.
Step 1
Prep Your Garment
Place your garment on the heat press platen.
Preheat the fabric for
5 seconds
to remove moisture and wrinkles.
Ensure the surface is smooth for proper transfer adhesion.
Position Your Transfer
Place the DTF transfer print-side
down
on the desired area of the garment.
Align the design carefully to avoid misplacement.
Step 2
Step 3
Heat Press Settings
Set your heat press temperature to
300–325°F (150–160°C)
.
Apply
medium to firm pressure
.
Press the transfer for
10–15 seconds
.
Use a
non-stick sheet
(e.g., parchment paper) to protect the transfer and fabric..
Cool and Peel
Allow the transfer to cool for
5–10 seconds
.
Slowly peel off the film at a smooth angle while still slightly warm.
Step 4
Step 5
Final Press (Optional for Durability)
Cover the design with parchment paper and press again for
5–7 seconds
.
This ensures improved washability and a smooth finish.
Tips for Success
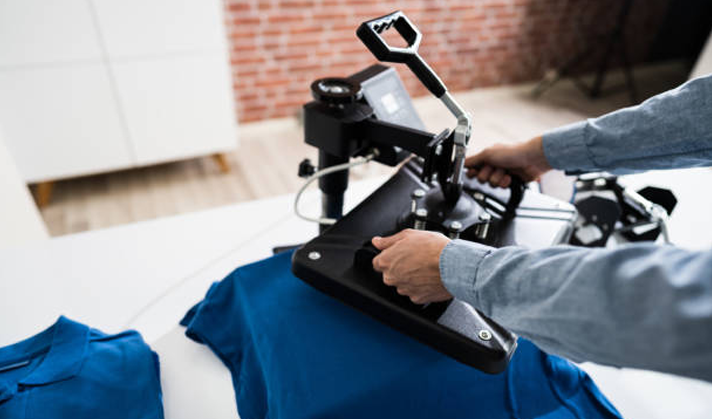
Consistent Heat:
Always preheat your heat press for accurate temperature settings.
Pressure Control:
Use medium to firm pressure for even adhesion.
Smooth Application:
Ensure the fabric is flat and free of creases before pressing.
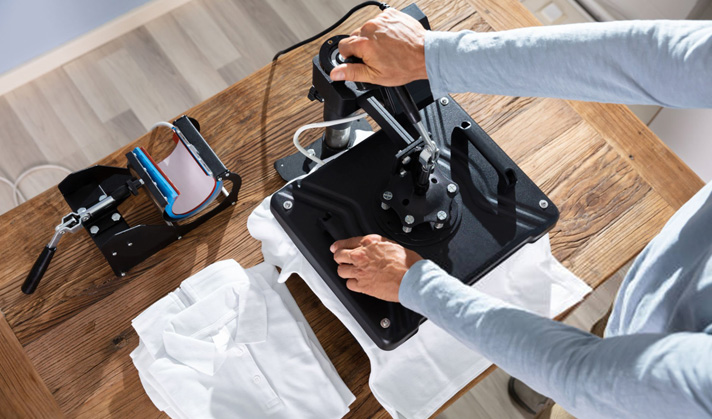
Fabric Compatibility:
DTF transfers work best on cotton, polyester, and blends.
Test First:
For new fabrics, test a small section before pressing the final design.
Why Choose DTF Transfers?
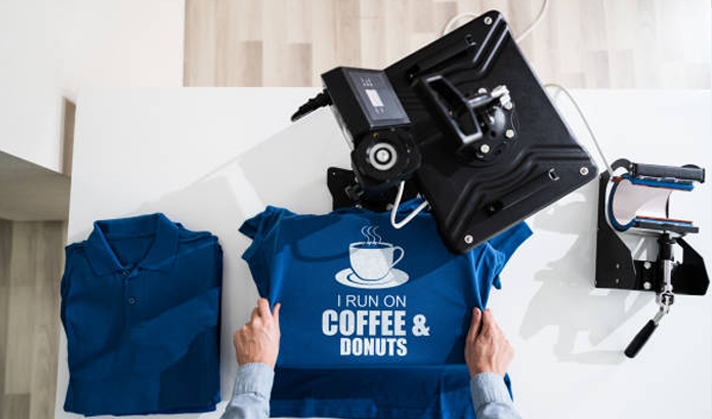
Vibrant Colors:
Stunning, full-color designs that stand out.
Easy Application:
Simple process with consistent, professional results.
Durable:
Long-lasting prints that withstand washing and wear.
Versatile:
Perfect for t-shirts, hoodies, bags, and more!
Get Started Today
Upgrade your designs with easy-to-apply DTF Transfers. Perfect for small businesses, DIY projects, and custom apparel makers.
Order Custom DTF Transfers Now