Levi Ink
Fastest Delivery Fri, Oct. 18th if ordered in 06h 32m | FREE Shipping on Transfers $75+
Generic selectors
Exact matches only
Search in title
Search in content
Post Type Selectors
Leviink Rewards
Sign up and earn
Live Chat 24/7
Chat with a Leviink
Hello, sign in
Login / Reorder
$
0.00
Cart
Menu
DTF Transfers
Printhouse
Blank Apparel
Custom Patches
DTF Supplies
Rhinestone
Design Library
Support
DTF Transfers
Printhouse
Blank Apparel
Blank T-Shirts
Short Sleeve
Long Sleeve
3/4 Sleeve
Raglan T-Shirts
Pocket T-Shirts
Hoodies
Short Sleeve
Long Sleeve
3/4 Sleeve
Raglan T-Shirts
Pocket T-Shirts
Hats
Short Sleeve
Long Sleeve
3/4 Sleeve
Raglan T-Shirts
Pocket T-Shirts
Categories
Short Sleeve
Long Sleeve
3/4 Sleeve
Raglan T-Shirts
Pocket T-Shirts
Brands
Short Sleeve
Long Sleeve
3/4 Sleeve
Raglan T-Shirts
Pocket T-Shirts
Custom Patches
Menu
Embroidered Patches
Full Color Printed Patches
Print + Embroidery Patches
PVC Rubber Patches
Leather Patches
Leather Patches
Faux Leather Patches
Woven Patches
3D Embroidery Patches
Chenille Patches
Rhinestone Transfer
DTF Supplies
Rhinestone
Design Library
Support
X
Contact Us
Applying Easy Peel DTF Transfers with a Cricut
We recommend watching the video above for step-by-step pressing instructions
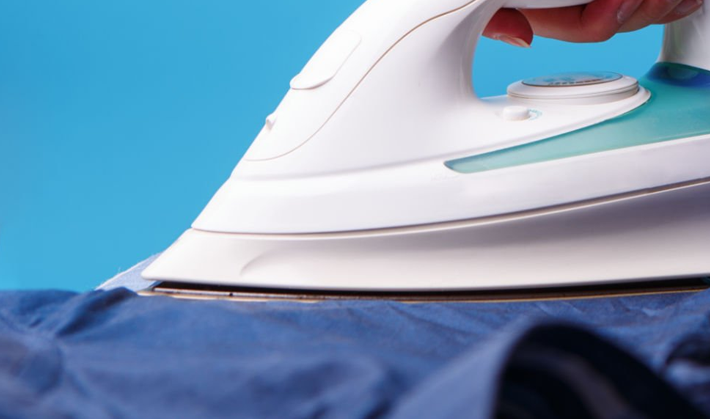
Step 1
Heat the Iron
Set the iron to
medium-high heat
(300–350°F). Ensure steam is turned
off
.
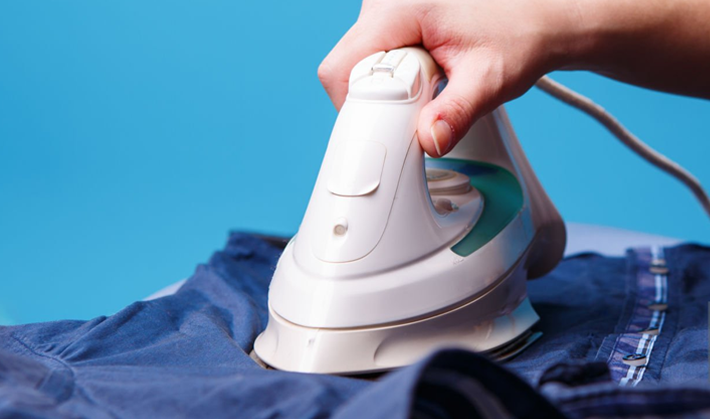
Position and Protect
Lay the transfer on the fabric, printed side facing down. Place a parchment sheet or non-stick PTFE sheet over it.
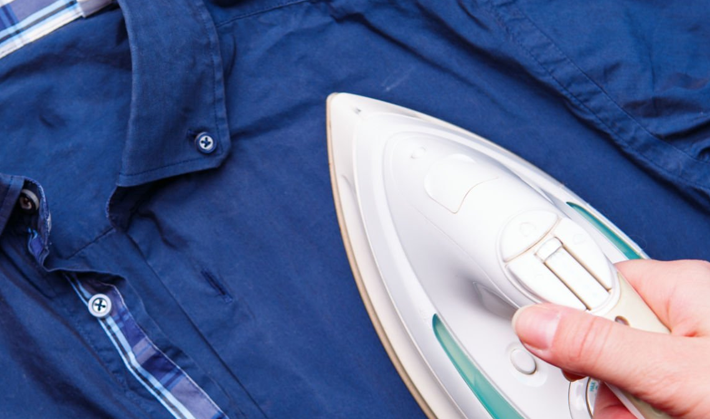
Step 2
Step 3
Press Firmly
Press the iron down for
10–15 seconds
in sections. Do not slide the iron—keep it steady for consistent pressure.
Cool and Peel
Allow to cool slightly, then peel the film gently. Press again with parchment paper for durability.
Step 4